Thursday, October 17, 2013

A Place to Hang Our Keys

My husband and I are notorious for misplacing our keys. Whenever we get ready to go somewhere, one of us is always saying "have you seen my keys?" or "I can't find my keys". I decided it was finally time to solve that problem. My husband had started hanging his keys on a nail by the door and I decided we needed something much prettier than that to hang our keys on.

I originally wanted something that would hold the mail as well but I could not find anything suitable. So I decided I'd just make something to hold our keys and the mail would go in another spot.

I went to Hobby Lobby and found the PERFECT thing. (By the way, if you don't have Hobby Lobby's app on your phone, GO DOWNLOAD IT NOW! They ALWAYS have a 40% coupon available)

I love how this plaque looks and I got the little screw-hangy-things (I'm pretty sure that's the real name) to screw into the bottom for hanging keys.

When I purchased this, my husband asked me if I was going to stencil my quote onto it. I looked at him and said "nope that's why I purchased my Silhouette so I never have to stencil again!" I know I've said this before but I really, really, really love my Silhouette. I have never regretted the money I spent on it.

I already had ideas flying through my brain about what I was going to do and when I got home, I picked out a matching vinyl and paint color. (I purchased 27 (I think) 6x12 vinyl sheets off of Amazon for about $10, even though the sheets are not big, I got a lot of colors for a little price)

Then I painted the middle of the plaque white because that's where I was going to put my quote:

And I painted the outer edges yellow:


I came up with my quote when we were leaving Hobby Lobby. I was going to do "Home Sweet Home" but that is just so cliche and I like to be original!


Love the quote!! Unfortunately when I hung it on the wall, my matchy-matchy scheme didn't work out so well. You couldn't read what it said from across the room. So...I peeled off all the vinyl and picked a different color. 


Much better!! (Plus it's Oregon Duck colors so it really worked out for the best!) The matchy-matchy was cute but this was easier to read and it's cute too!

Hanging on the wall after I got my handy husband to screw in those screw-hangy-things:


I just notice the picture is crooked but be assured that it does hang straight in real life!

Since hanging this up, I have noticed that we have both been better about hanging our keys here!

I'm going to try (fingers crossed) to blog more often. I just realized I haven't blogged about doing anything crafty since May! I just bought my first sewing machine and made curtains so hopefully I will have some time soon to blog about that fun process!

til next time,
nik


Thursday, May 16, 2013

Cheap, Easy Outlet Covers

When I say cheap, I mean CHEAP. This has to be the cheapest craft I have ever done.

Tools Needed:
Old, ugly Outlet Covers (already had)
Mod Podge (I made my own and it was cheap, cheap, cheap, more on that in a sec)
Scrapbook Paper (I got two large sheets for .59 each)
X-acto knife (already had, it probably cost me a couple bucks, but incredibly worth it, I use it all the time)
THAT'S IT!!

For the "homemade" mod podge, I had seen a couple blogs where some people had made their own. It's equal parts water and white glue. Fill up your jar halfway with glue, then the rest with water and shake! Simple! I figured I had nothing to lose by making my own, because if you have ever looked, Mod Podge is EXPENSIVE. I made this a couple months ago but had never used it on anything important so I figured I would try it for this project.

First I gathered all my materials together:

I wanted my paper to wrap around the sides of my outlet cover, so I cut the paper extra big. I actually took two outlet covers, lined them up next to each other and cut around both. That gave me more than enough paper for one cover.

The first cover I did, I put mod podge on the outlet and the paper and it ended up really gooey, it did dry fine though. The rest of them I only put mod podge on the cover itself and they turned out fine.

Once they were dry, I cut off the excess paper on the back:


And this is what I had:


I love how the paper covers the whole outlet and you can't see any of the cream from before.

Then I took my x-acto knife and cut from the back:

Here's the finished product:
One of the blogs I read put another coat of mod podge on top, I guess to make it shiny. I put another coat of mod podge on mine and they looked the same. That doesn't bother me at all, but if you want it shiny, this homemade mod podge is not the way to go.

In the end, I would definitely recommend this as a cheap, easy way to make your outlet covers pop. I can't wait to do the rest of my house!!!

see ya soon,
nik

Saturday, April 27, 2013

Making a Dining Room Table

About a month ago, we set out on a mission to find a thrift store salvageable dining room set. We went to every thrift store in this area and even drove 45 minutes away to hit the thrift stores there! No luck :( For a crappy looking table and chairs, people were still asking over $100! That seemed like too much to me, so my husband decided he would build a table.

The plan we ended up settling on consisted of seven 2x8x8, four mailbox post anchors, and two 2x4's for the legs. Here's what we ended up with:


We took six of the 2x8x8's and laid them like a picnic table. We took the other 2x8x8 and cut it in half and that was how we put the table together. It looks like this:

See how the boards on top lay on another board and then the leg is drilled into that board? To put it together we simply took long screws, not too long because we didn't want them to go all the way through, but long enough that they went through both boards, and screwed each board into the bottom 2x8x8. (Of course we drilled them into the bottom so you don't see anything from the top of the table).

To put the legs on we used mailbox post anchor. We wanted something that would be really really sturdy and the lowe's people said that would be the sturdiest. They cost $15 each (and we had to get four, eek!) but we don't want our table falling apart! This is how each leg looks:

The mailbox anchors were a really ugly green but I used my FAVORITE spray paint to darken them to match the table:

The picture is a little blurry (sorry!), but the color is oil rubbed bronze. This stuff is honestly the best!

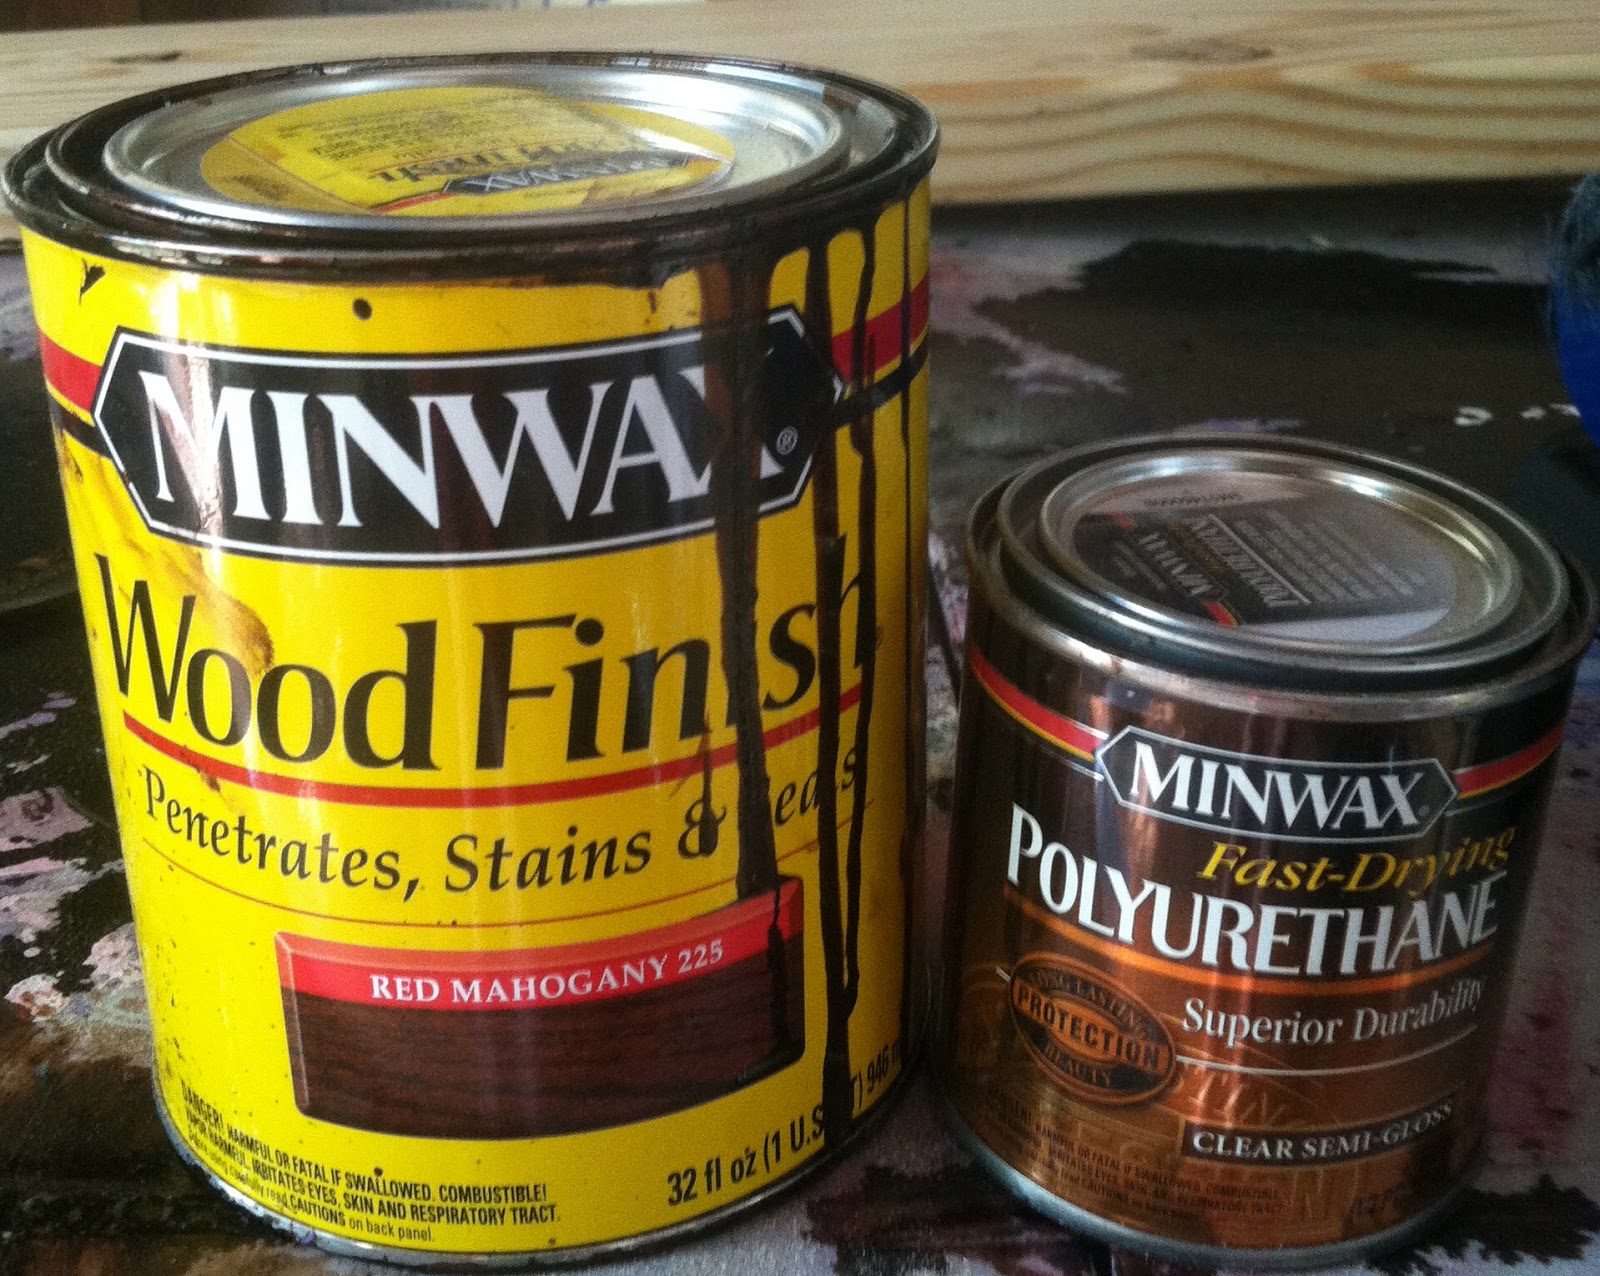
The table started out as a light wood but we darkened it up using this stain:


After we stained, we used polyurethane to give it that glossy look. Word to the wise: in order for your table to have a smooth feel, you HAVE to use the coarsest sandpaper. We used a medium coarse and (after we had stained and polyurethaned) we had to go back and re-sand it so we could get the smooth feeling we were going for. (We thought the polyurethane would give it that feel but we were wrong, its sandpaper). We also learned after this process that they DO make a stain that contains polyurethane and we will be using that next time! Also, don't use the cheap brushes, we ended up with brush hairs all over our table, which luckily sanded out, and when we stained again, we used pricier brushes.

Here's the color of the table:


During the process, I was afraid it wouldn't end up with that nice reddish color that was on the can but after everything, it did turn out with some red and I LOVE it!

Overall, this project was pretty easy. It would have been easier if we hadn't had to re-sand it, but even with all that, it still only took us about three days. That's mainly because we only worked on it in the evenings and every time we stained or polyurethaned it, we had to wait about 24 hours for it to dry.

It measures 6 ft. long and 3 1/2 ft. wide. It will easily fit six people and if they are really skinny, it would probably fit eight. I can't wait to try it out when my family comes for Thanksgiving!

See ya soon!
Nik


Monday, April 22, 2013

Knife Block Makeover

I'm back! It has been a crazy month and I haven't had a lot of energy for crafting but I decided this would be easy (and it really was)!

Ever since I saw a picture on Pinterest (that's where I get most of my crafty ideas) of someone who had painted their knife block, I was dying to paint mine! Every time I looked at my knife block, I knew I had to paint it!

My kitchen is the most beautiful blue-ish color I have ever seen. From the moment I saw it in the big book of colors at Home Depot, I knew it was the one. My dining room is yellow ( I didn't realize it until I did this project but the yellow I picked for my dining room is the same yellow in my craft room and I picked them out at different times! I guess I just REALLY REALLY love this yellow!). Originally I thought I would paint my knife block the same blue that my kitchen is. Then I realized that it would just blend in and that's kind of boring. So then I realized that if I painted it yellow, not only would it pop, but it would also match my dining room. Even though from the kitchen you cannot see the dining room yellow, at least I know it matches!

I forgot to take a before picture before I started painting, so there is a little paint at the top, but this is what my knife block looked like before! Just a boring regular knife block:


I used a tiny paintbrush to paint around the knife openings so I didn't get paint in them and then I used a bigger brush to paint the top and a biggest brush to paint the sides, front and back!


Here's the fully painted knife block! It looks very mustardy in the picture, but trust me, it's beautiful in real life!

In the original picture, they had put their last name initial on their knife block. I'm not really a put-my-last-name-initial-all-over-everything kind of gal so I chose something funkier, which is more me!

 I have a Silhouette Cameo, which is how I cut out this fun piece on vinyl. (I love that machine!)

And here's the finished product back in the kitchen where it belongs! I love how the yellow pops out from the blue walls!
See ya soon!
Nik

Saturday, February 23, 2013

Elmers Glue + Food Coloring = Seaglass Effect?


Hello!

It's been awhile since I've blogged over here on my crafty blog! Lately I have been spending a lot of time on Pinterest! It's addicting!! I noticed thought that I have been pinning A LOT but actually doing very little. So my new goal is to try a new Pinterest pin every week! This week the pin that I tried was the Elmers Glue/Food Coloring Sea Glass Effect. The pin I pinned looked like this: 


The original pin said to create a seaglass effect, simply mix elmers glue and food coloring. I clicked on the pin and it took me to NO directions. Now I love to craft, but I also appreciate a step-by-step when I am trying something new. I went to my best friend, google, and found some blogs that had tried this pin and it had worked well! I was super excited! I gathered my supplies:
Paintbrushes, Pickle Jar, Food Coloring, Glue, Plastic Bowl

I highly recommend, as a crafter, to buy the huge bag of paintbrushes from Hobby Lobby. There are so many different sizes and kinds and I have never had to buy paintbrushes again! (I am also seriously picky about my paintbrushes and make sure to wash them immediately after using them so they don't dry out!).I also recommend buying some kind of plastic bowls (I married into mine, lol), that way when you ruin them you don't care!

I decided that I wanted to paint my pickle jar blue, so I mixed the blue food coloring and glue together: 
 
 
 I started with two drops of food coloring and I think I added maybe two or three more along with a little more glue. I wanted a light blue. Then I painted my jar:


 While the glue/food coloring consistency was fun to paint with, it was really streaky when I put it on and as it dried, it got lighter and lighter. When it was completely dry, it barely looked like I had done anything to the jar. I decided to do another coat of the glue-food coloring paint but darker this time and this is what I ended with:


 As you can see, mine turned out NOTHING like the original pin. The second coat dried streaky and way too thick. So maybe a second coat is a bad idea? I'm not quite sure what went wrong. I did read on another blog that this will wash off so that's the good news! I may try it again, if I do I will try doing a darker coat the first time and no second coat. 

I have to say that although this pin was a fail, I still had a really really fun time doing it! 

til next time,
nik


Thursday, September 27, 2012

Jewelry Maker

Making jewelry is actually one of the first crafts I ever tried and I love it. I've been making my own jewelry off and on for about six years now. There's just something about making jewelry that makes me happy!

About a week ago I went to Fire Mountain Gems (I definitely recommend them if you ever need beads), and I bought 16 strands of beads for $20. For those of you who don't bead that might sound like a lot of money, but believe me that is a good deal! Fire Mountain Gems is known for selling beads in bulk but if you shop their clearance you can get some really good deals!

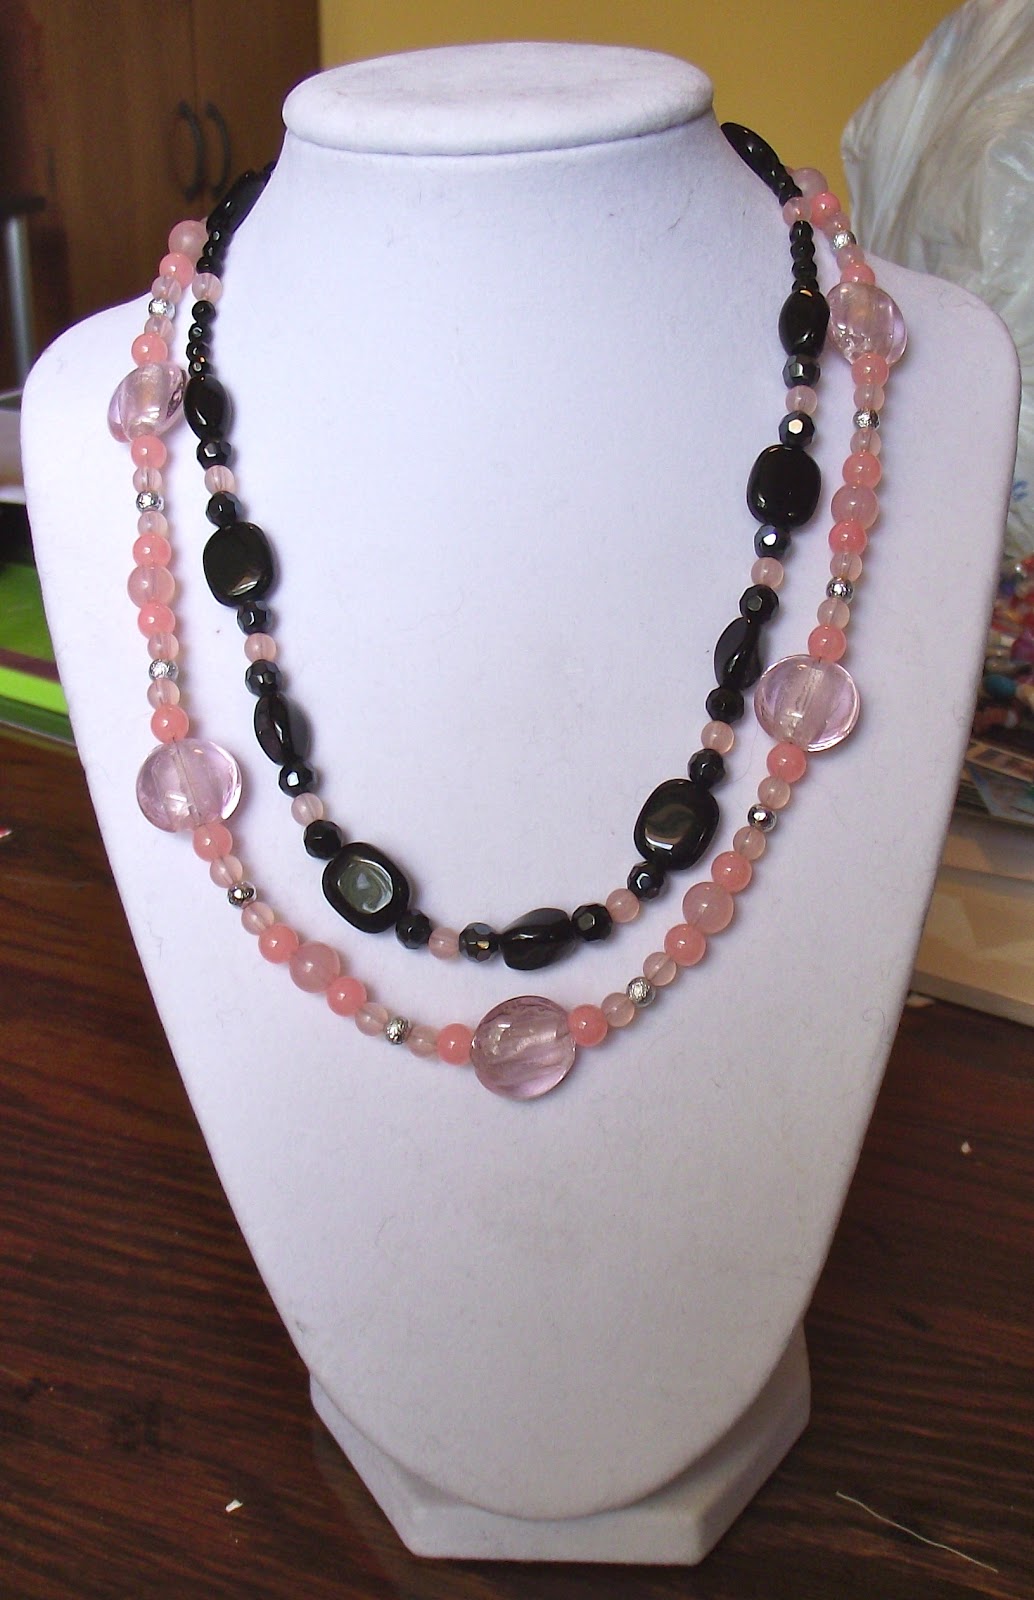
Here are the necklaces I've made in the last week:

Pink/White

Gray/White

Pink/Blue

 Necklace/Bracelet Combo, Turquoise/Cream

Two layered necklace, Pink/Black

Turquoise/Cream/Coral

Halloween Necklace, Black/Orange

Also, if you make jewelry I definitely recommend a "headless neck" as I call it, I think the technical term is "necklace displayer" or something fancy like that! It is definitely a lot easier taking pictures using the headless neck than trying to do it any other way, and believe me I've tried many other ways! I believe it was about $5 at Michaels.

Lastly, from one crafter to another, if you have an iPhone (I know the iPhone has these apps, I'm not sure about other smartphones) definitely, absolutely, make sure you download the Michaels app and the Hobby Lobby app, they ALWAYS have coupons on their apps and all you have to do is show the coupon on your phone when you checkout!

If you have any interest in any of these necklaces contact me at nikcreates@gmail.com to place an order!

Happy Crafting!

Friday, September 7, 2012

A How I Met Your Mother Inspired Craft

Cliff and I are HUGE How I Met Your Mother (or HIMYM, as I will refer to it the rest of this post) fans. As in not only do we DVR every episode but we also have every season on DVD. If you are a huge fan of HIMYM then you will remember the Long-Term Bets box that Marshall and Lily had. If you aren't as cool as the rest of us, here is a picture (I'm just kidding, you're still cool even if you don't like HIMYM but you should seriously watch it)


 This is the best picture I could find and believe me, I scoured the internet.

Basically, the Long-Term Bets box is a box where Marshall and Lily put bets that they made each other. That brings me to the point for this post. Cliff and I like LOVE to bet each other on EVERYTHING. So after seeing this episode, it was clear that we needed a Bets Box. However, I kept forgetting to make one until this last week. Cliff texted me and said "make us a bets box". I had nothing better to do, so off I went.

Problem One: Finding a box.
In my head I remembered the box from HIMYM being a shoe box. I didn't have a shoe box. Luckily, I am a hoarder and keep everything with the thought that I might be able to craft it into something one day. So I just happened to have:


A recipe box! And because of Pinterest (oh my gosh I LOVE Pinterest), I keep all of my recipes online, so I have no need for a recipe box. 

Even better:

 The lid pops open. I was pretty excited about that! Now that I had my box, I had no idea how I was going to decorate it, so I pulled out everything I had:


I had lots of foam, poster paper, craft glue, ribbon, foam letters, paint and lots of markers and stencils.

(This next part has no pictures because I totally forgot to take pictures as I was working)

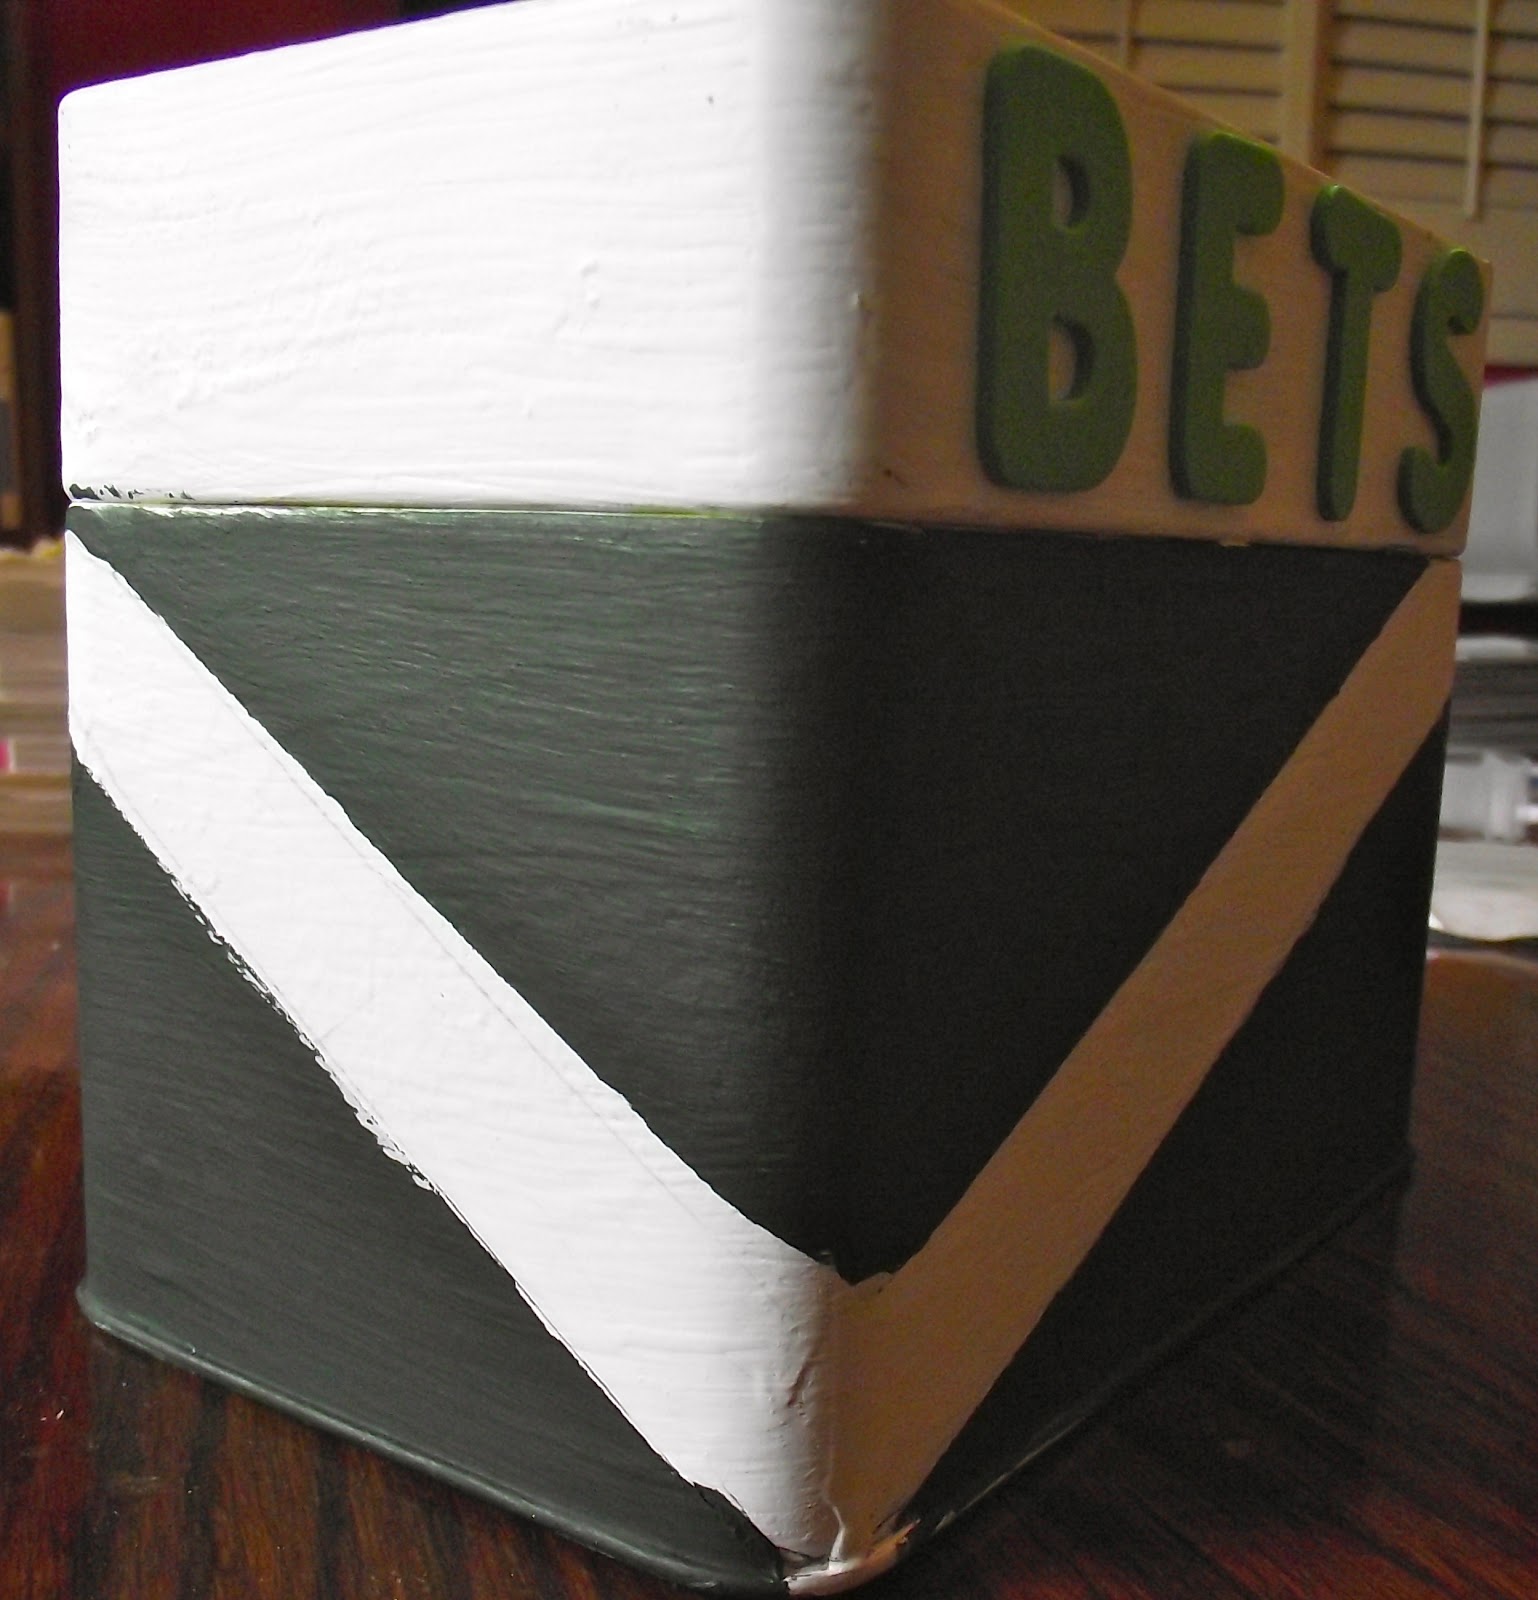
I first started off by trying to cover the box in foam. However, I come from a long line of perfectionists and the foam just didn't cut it for me. It was messy and just looked plain bad. So I went to my favorite thing in the whole world. Paint. Paint is very forgiving and it loves me as much as I love it. So I painted the whole box white. Annnd....it was incredibly boring. I stared at the box for about thirty minutes hoping it would tell me what it wanted to look like. I finally decided to turn to paint again. But I didn't want to just paint the box a different color. I wanted something fun, something funky. So I decided a funky stripe would do the trick. I wish I had pictures of this process because trust me, it was no piece of cake.

 But it turned out like this:


I used pre-cut, pre-sticky, foam letters (and that was the easiest part of this whole project.)


And yes I know the paint job is not perfect, but it works for me. Cliff has been trying to get me to see things as "perfectly imperfect". I would prefer things be "perfectly perfect" but sometimes things turn out imperfectly and that's okay.

On the top of the recipe box, I stenciled out our names, and colored them in with marker. Using the marker was easier than trying to paint and I wanted the letters on the top to be a lighter green than the paint and I didn't have any lighter paint.


And the inside was PERFECT for a small notepad and a pen. Now we just need to start betting!


P.S. After doing all of this, I looked in my closet and I actually DID have a shoe box. But I'm glad I didn't find it earlier, because I really like how my recipe box turned out!