Cliff and I are HUGE How I Met Your Mother (or HIMYM, as I will refer to it the rest of this post) fans. As in not only do we DVR every episode but we also have every season on DVD. If you are a huge fan of HIMYM then you will remember the Long-Term Bets box that Marshall and Lily had. If you aren't as cool as the rest of us, here is a picture (I'm just kidding, you're still cool even if you don't like HIMYM but you should seriously watch it)

This is the best picture I could find and believe me, I scoured the internet.
Basically, the Long-Term Bets box is a box where Marshall and Lily put bets that they made each other. That brings me to the point for this post. Cliff and I
like LOVE to bet each other on EVERYTHING. So after seeing this episode, it was clear that we needed a Bets Box. However, I kept forgetting to make one until this last week. Cliff texted me and said "make us a bets box". I had nothing better to do, so off I went.
Problem One: Finding a box.
In my head I remembered the box from HIMYM being a shoe box. I didn't have a shoe box. Luckily, I am a hoarder and keep everything with the thought that I might be able to craft it into something one day. So I just happened to have:
A recipe box! And because of Pinterest (oh my gosh I LOVE Pinterest), I keep all of my recipes online, so I have no need for a recipe box.
Even better:
The lid pops open. I was pretty excited about that! Now that I had my box, I had no idea how I was going to decorate it, so I pulled out everything I had:
I had lots of foam, poster paper, craft glue, ribbon, foam letters, paint and lots of markers and stencils.
(This next part has no pictures because I totally forgot to take pictures as I was working)
I first started off by trying to cover the box in foam. However, I come from a long line of perfectionists and the foam just didn't cut it for me. It was messy and just looked plain bad. So I went to my favorite thing in the whole world. Paint. Paint is very forgiving and it loves me as much as I love it. So I painted the whole box white. Annnd....it was incredibly boring. I stared at the box for about thirty minutes hoping it would tell me what it wanted to look like. I finally decided to turn to paint again. But I didn't want to just paint the box a different color. I wanted something fun, something funky. So I decided a funky stripe would do the trick. I wish I had pictures of this process because trust me, it was no piece of cake.
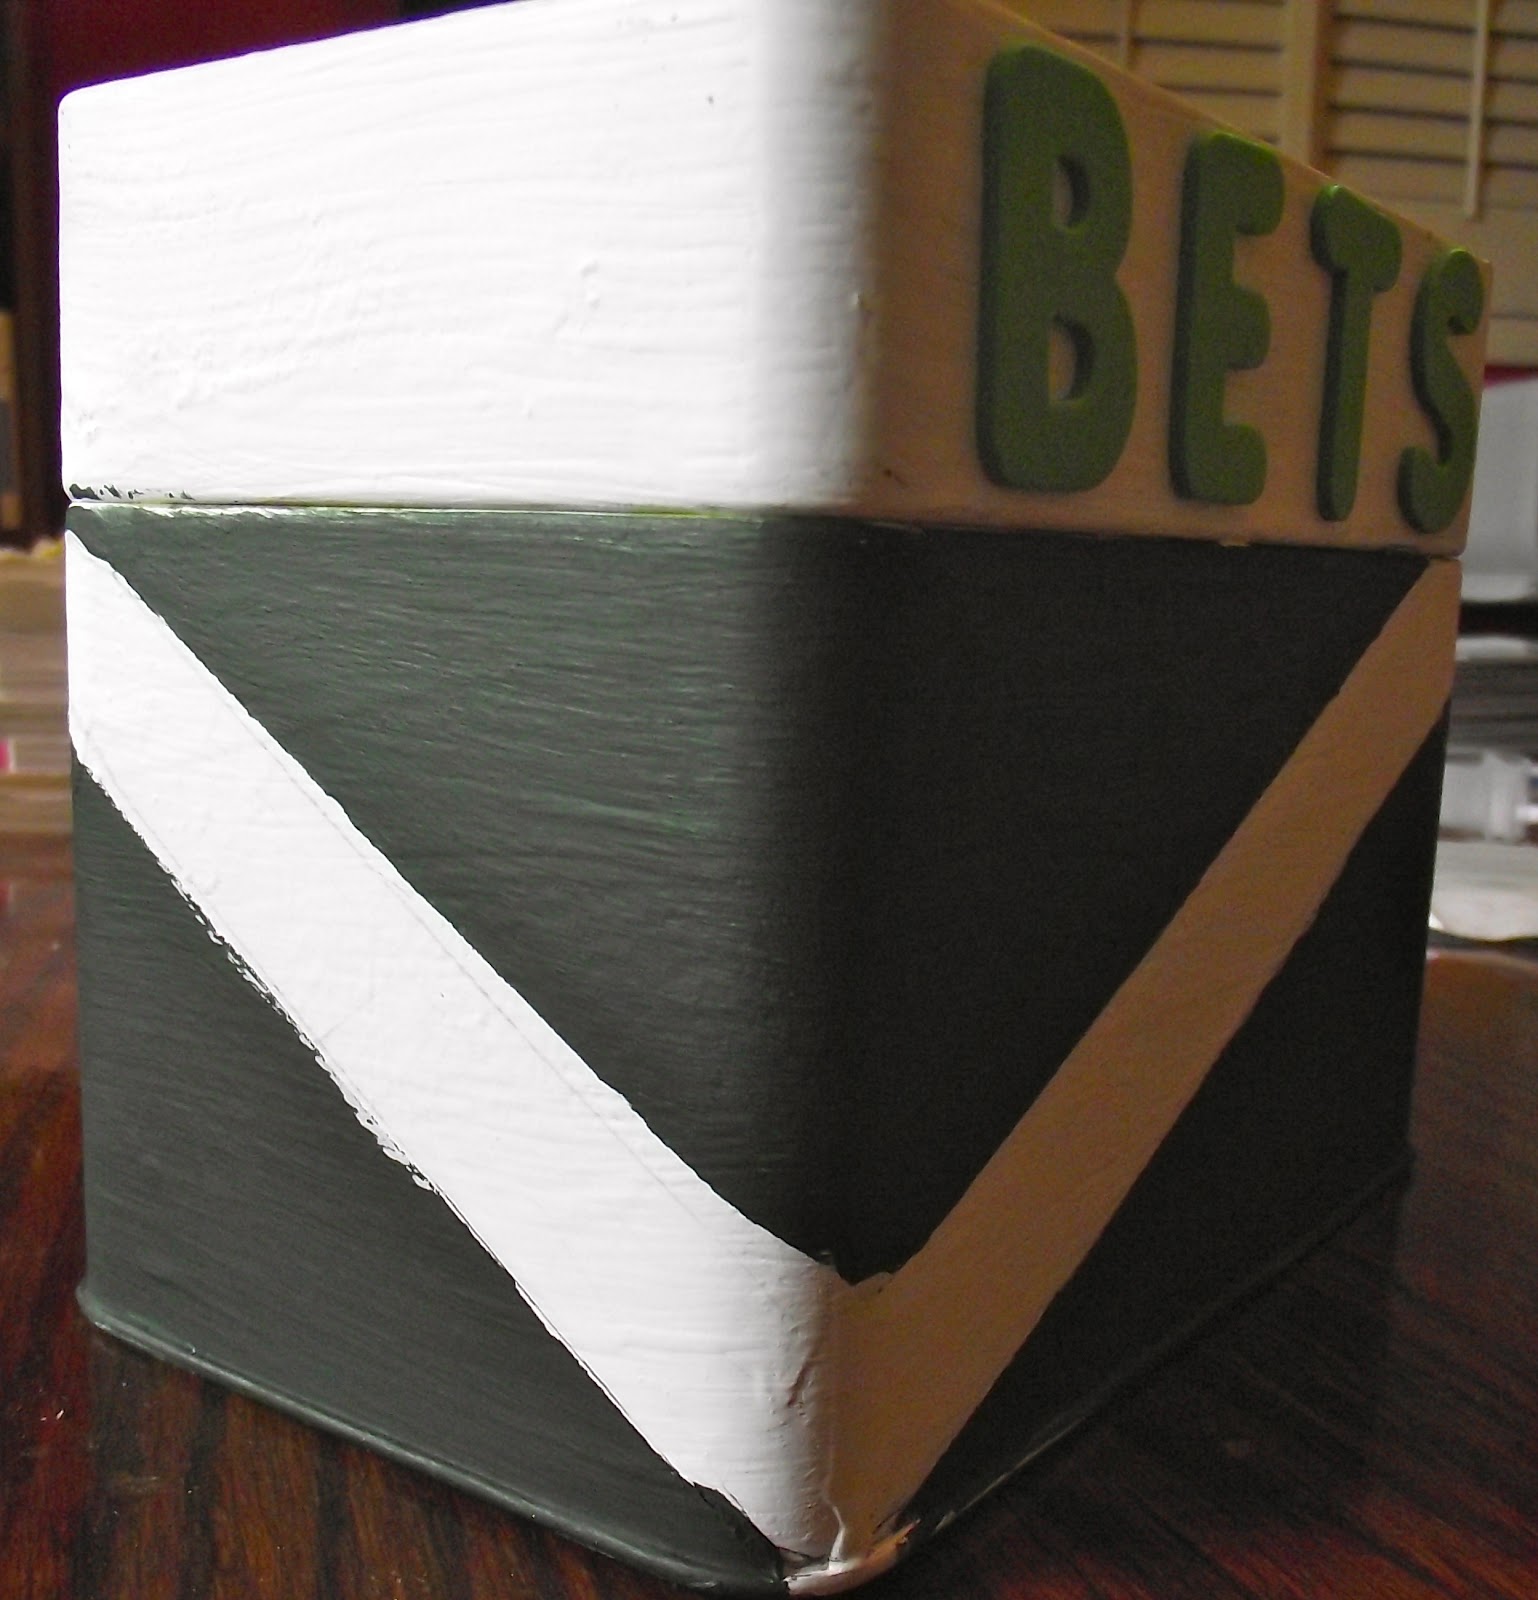
But it turned out like this:
I used pre-cut, pre-sticky, foam letters (and that was the easiest part of this whole project.)
And yes I know the paint job is not perfect, but it works for me. Cliff has been trying to get me to see things as "perfectly imperfect". I would prefer things be "perfectly perfect" but sometimes things turn out imperfectly and that's okay.
On the top of the recipe box, I stenciled out our names, and colored them in with marker. Using the marker was easier than trying to paint and I wanted the letters on the top to be a lighter green than the paint and I didn't have any lighter paint.
And the inside was PERFECT for a small notepad and a pen. Now we just need to start betting!
P.S. After doing all of this, I looked in my closet and I actually DID have a shoe box. But I'm glad I didn't find it earlier, because I really like how my recipe box turned out!